Electric Hand Mixers
I’m not really going to recommend one brand over another in this category, as I think most manufacturers make very similar product and since they aren’t built to last, I wouldn’t necessarily consider spending a ton of money on one, and a cheaper one like
Oster,
Black&Decker or
Proctor Silex will probably do the trick. I will say that if you are spending more money on a more expensive brand name, that I don’t think it’s worth the extra money for anything over 7 speeds. I know a
Cuisinart and
Kitchen Aid both make 9-speed mixers these days, but most people don’t really use even the 7 speeds let alone 9, which gives you one lower and one higher speed to utilize.
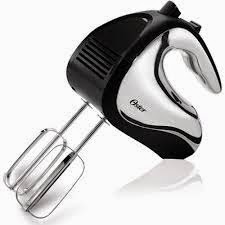 |
| Oster hand mixer |
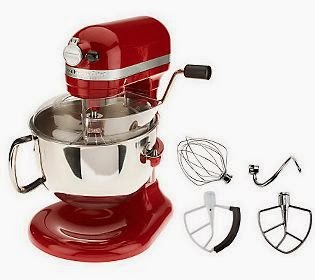
Accessories for these also seem to be somewhat of a joke. Most folks who have gotten accessory pieces with their
Kitchen Aid told me that they didn’t work well if at all, and if they did work, broke within a year (specifically, the whisk!). The motor on these isn’t really strong enough to handle dough, so having dough hooks for this might end up burning out your hand mixer. Don’t base your purchase off of the accessories you’re receiving as part of the “deal”!
 |
| I had this model and loved the storage feature! |
Electric Stand Mixers
When you do find you need a little more power, it might be time to step up into a stand mixer. There are quite a few brands on the market so this can be a tricky item to shop for if you don’t know what you’re after. I personally only recommend
Kitchen Aid’s stand mixer, and with that I also say anything less than a 5 quart/325 watt machine is not worth your money!! (There is a
4.5 quart tilt head stand mixer that has the same body as the 5 quart but a smaller motor and mixing bowl. This is usually the one you see at Bed, Bath & Beyond or Target.)
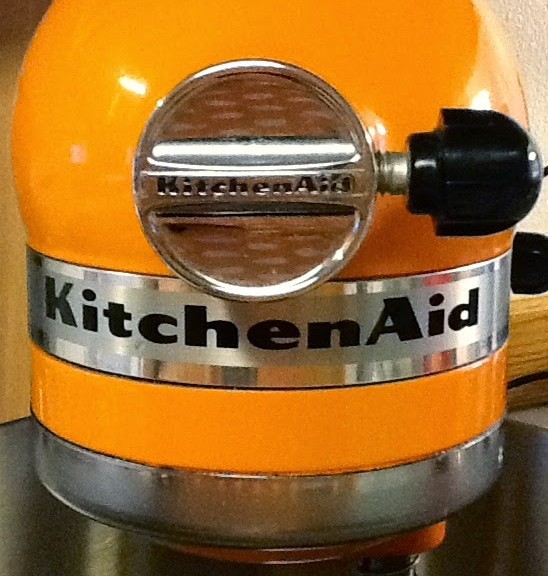
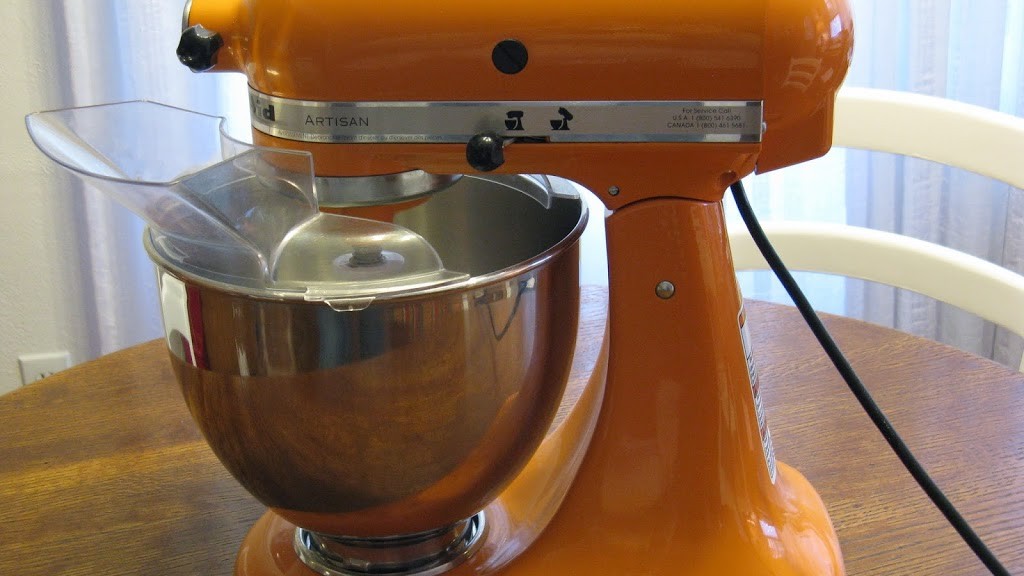
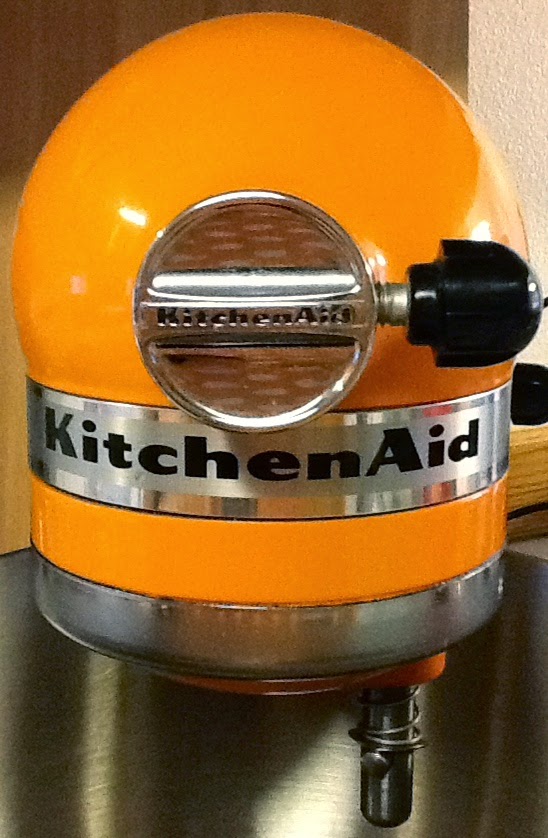
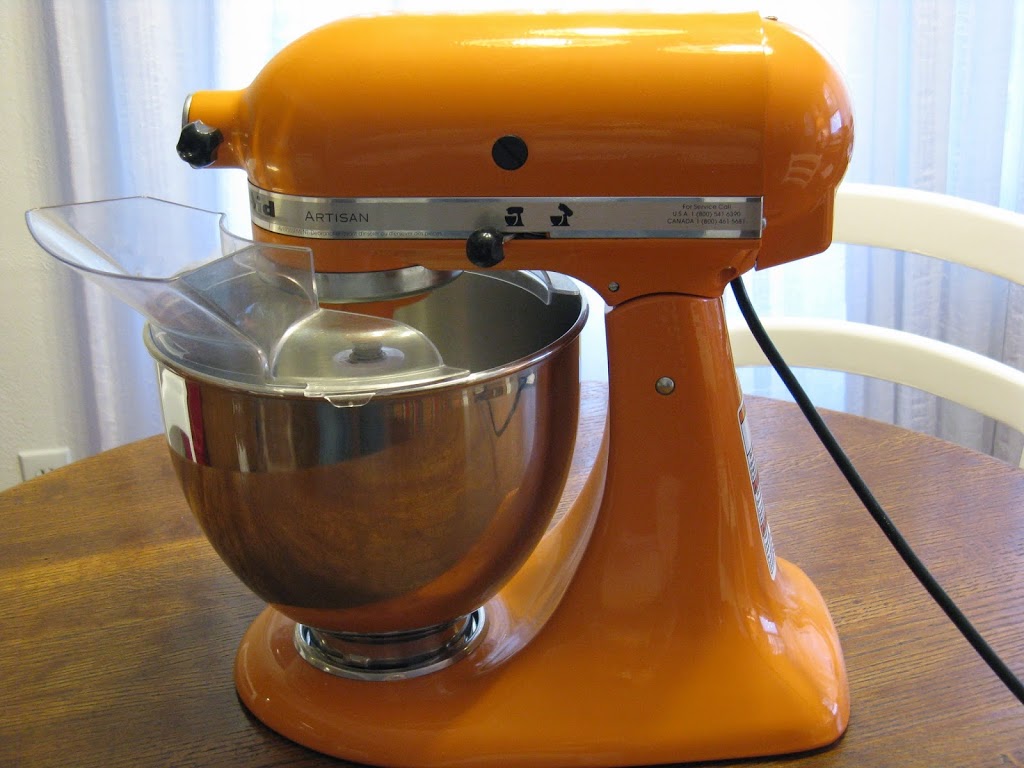 |
| My beautiful tangerine 5 quart tilt head Kitchen Aid mixer! |
If you’re spending the money, you at least want the power, and there are some basic cookie doughs that will really work your machine. Why worry about overburdening the machine when you don’t have to? Get the 325 watt and don’t worry about it!
These machines will tell you how much “flour power” they have (or for people like me, how many batches of cookies you can churn out!), so that might help you to determine what size fits your needs best. I would say that if you regularly only make single or double batches of baked goods the 5 quart should be large enough for you. If you are constantly making several huge batches of baked goods for your kids’ school or are running a very small business that requires a bit of baking you are probably leaning towards a 6 quart. (NOT a small bakery!!
Commercial-grade, people.)
Kitchen Aid’s 7 quart is newer to the market so I am hesitant to recommend it yet, as I normally say anything stronger than that you need to be looking at commercial mixers, like
Kitchen Aid’s 8 quart.
 |
| Kitchen Aid 6 quart bowl lift stand mixer |
I prefer a
tilt head, which you can only get on the 5 quart or smaller. The 6 quart comes with the “
bowl lift” feature, which you can also find on different
5 quart models. I personally never feel like the bowl attaches properly with the bowl lift, so it doesn’t feel secure to me. I know it is secure, I just don’t like it! My recommendation is to go into a store and play around with the machines, practice taking the bowl and beaters off and on and see what feels most comfortable to you. Ask the salesperson if they are able to show you how to put attachments on the machine! I am serious! All of these things sound weird and trivial, but if you’ve never used one before, it can be kind of daunting!
Breville has a stand mixer, however I unfortunately have no experience with their products but know they are extremely reputable. The other thing is that nobody has had one for 40 years yet to say “these babies last 40 years!” like the Kitchen Aid, so until that happens, I am going to keep on keepin’ on! (I’d say once somebody has had one for a decade, we’ll call them solid – haha!)
 |
| Breville Scraper Mixer Pro |
I do NOT recommend the
Cuisinart stand mixer! Repeat this mantra – “Kitchen Aid stand mixer, Cuisinart food processor!” (We’ll discuss food processors in another blog, I promise!) They tried to overcome the very minor complaints with the Kitchen Aid, but I don’t think they succeeded. For one thing, when they were first introduced I got to attend a big demo event because they launched a lot of new items that year. The rep for Cuisinart kept saying the model she was demonstrating to us was not the “official” one for sale but a prototype – yeah right! She had a lot of issues getting it to even work at first, and once we started using one in the store I worked at we realized more of its shortcomings. It’s available in 5 and 7 quart models in various colors.
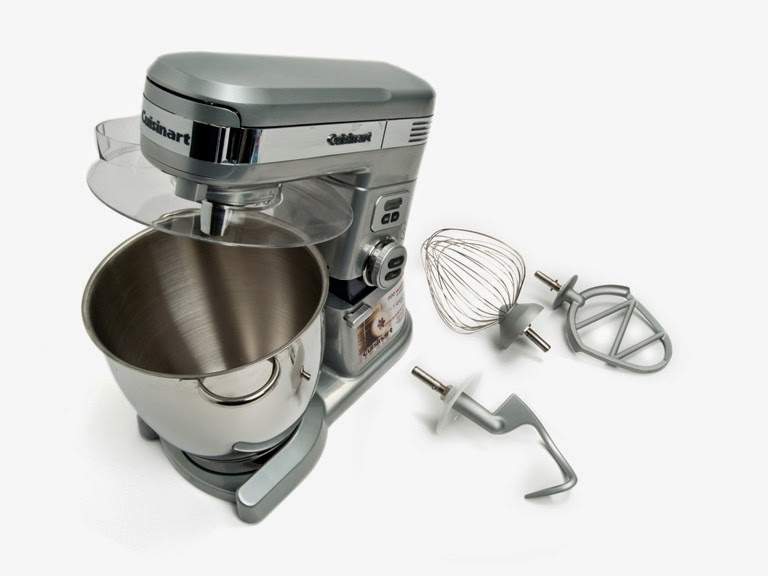 |
| Cuisinart stand mixer |
The pouring shield attaches to the tilt head so you don’t need to find somewhere to set it down like with the Kitchen Aid shield. However, anything you may have “spilled” in the pour spout of the pouring shield when dumping it in the mixer will drip down onto the machine when you lift the tilt head up to retrieve the bowl. Our example was vanilla…dripping all down the side of that beautiful white machine! Extra cleanup is never good in my book!
The one really cool feature of the Cuisinart is the digital countdown timer with auto-off, which Breville has incorporated into their
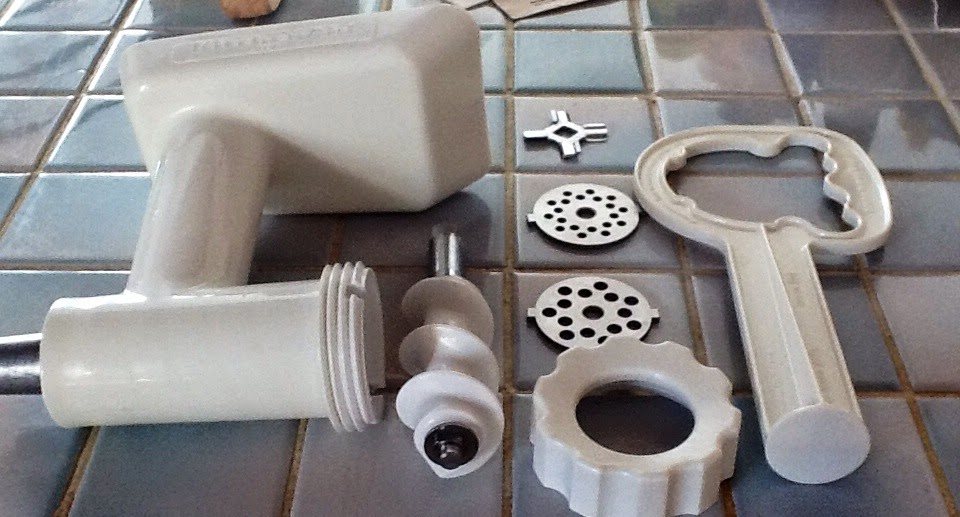
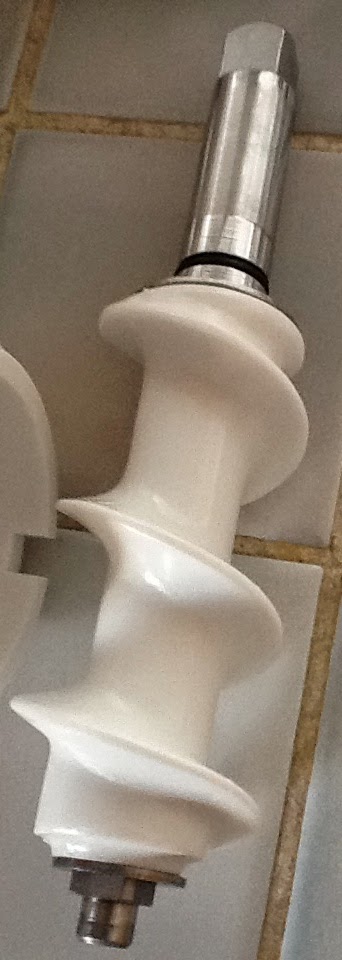
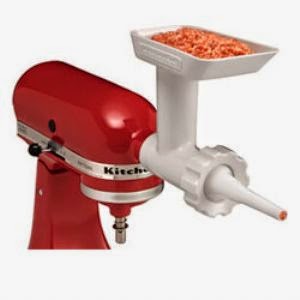
Scraper Mixer Pro. I unfortunately think adding something digital to the mixer is going to reduce its lifespan, but would assume that the mixer itself would continue to work despite a digital timer feature “wearing out”. I think that’s another reason the Cuisinart doesn’t seem to have the power it should – they added an extra “outlet” for a variety of attachments, most appealing to consumers being the blender and food processor attachments. The food processor attachment is surprisingly different than a food chopper of the same size (3 cups) in freestanding form. Those choppers only do one thing – chop. This attachment actually has slicing and shredding discs like a real food processor. There is also a meat grinder attachment that is very similar to the Kitchen Aid one.
Electric Stand Mixers with Detachable Hand Mixer
Some people like the idea of the stand mixer with the hand mixer piece that detaches. I’m not sure that these will have the “reach” that standard stand mixers claim to have with their planetary mixing action. These have two separate motors, one that powers the hand mixer portion with the beaters and the other that spins the bowl, which should force the mixture to combine at least almost as well. Be careful – some inexpensive stand mixer models look like they have a detachable hand mixer but they don’t, it’s just a design illusion. I’d definitely recommend the stronger motor, at least 325 watts, because like I mentioned in the hand mixer section, the motors on those little guys aren’t going to be strong enough to actually handle dough on the dough hooks that come with them.
Breville’s has 380 watts and seems like a good choice for this category.
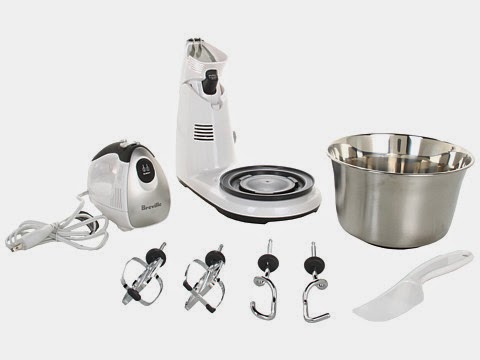 |
| Breville Handy Stand Mixer |
Stand Mixer “Standard” Accessories
These are standard for the Kitchen Aid mixer but most mixers should have the three standard mixing pieces. Here’s a quick video to demonstrate how the accessories attach to the mixer:
**Note that some accessories for Kitchen Aid are “coated” and some are not. The coating can chip off if you are very hard on them. NEITHER can go in the dishwasher – all of the mixing pieces are hand wash only!**
***These links might not go to your exact model number! Please search for the correct piece if you are looking to replace something on an existing machine!***
Wire Whip – This is the piece that looks like a whisk. You’re going to use this to make icing, meringue, whipped cream, or anything that calls for a whisk that isn’t too tough to mix through.
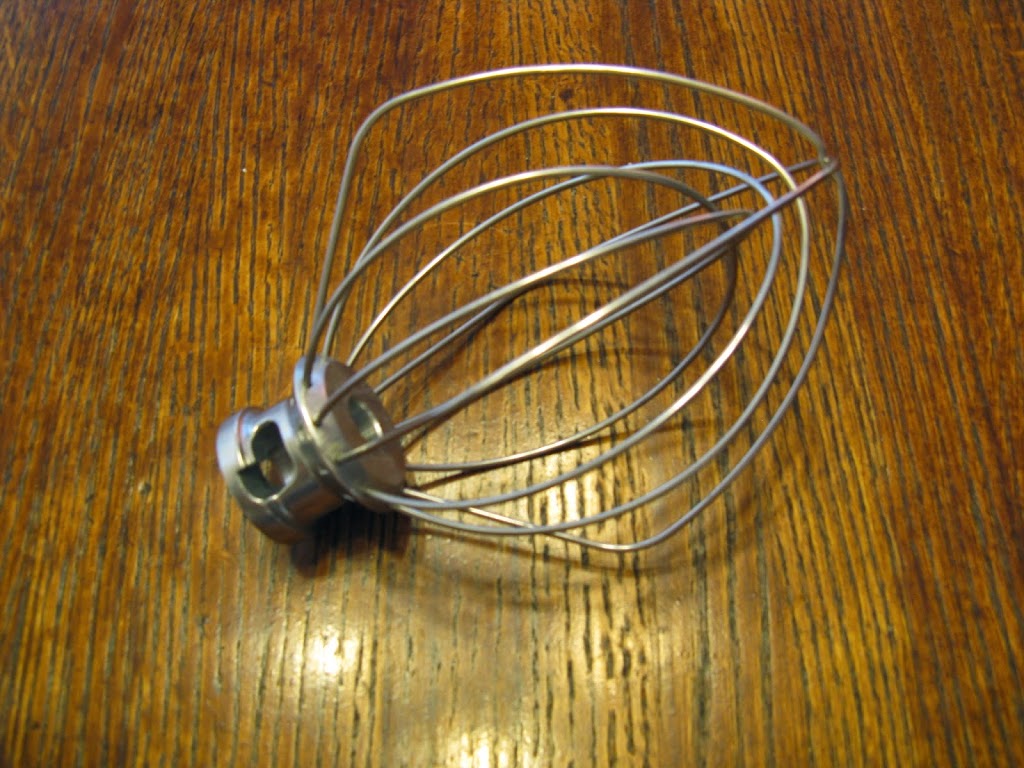 |
| Wire whip |
Dough Hook – This is the piece that looks like a pirate hook on the smaller machines, and on the larger ones it’s a tad curlier-looking. You’ll use this for bread or pizza dough, and you’ll know you made your dough correctly when you see it “tornado” up the hook.
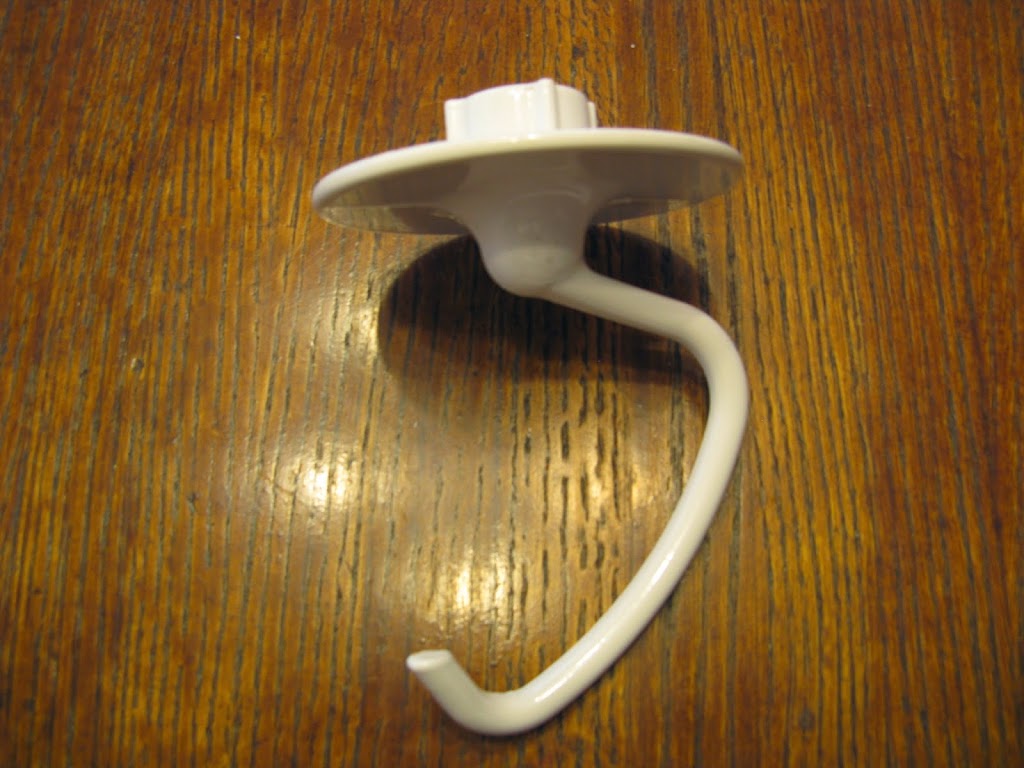 |
| Coated dough hook |
Flat Beater – This is the piece I use the most, it’s the flat triangular-looking piece. This is for cookies, cakes, etc. or anytime the recipe tells you to “beat” something.
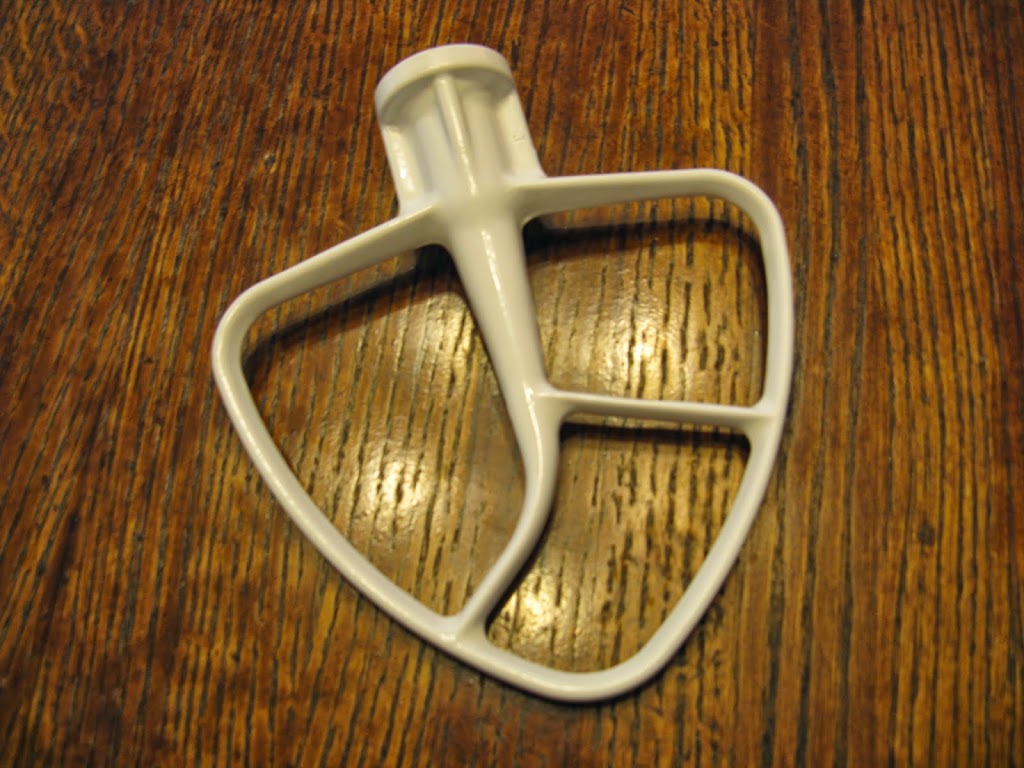 |
| Coated flat beater |
Power Hub – For attachments, which are sold separately. [We can discuss these further in a future blog!] When you put an attachment on the power hub, you turn the machine on the same way as if you were mixing, and yes, the lower piece where you attach the whip/beater/hook will spin around while you are using the attachment piece. Don’t worry!
 |
| Kitchen Aid power hub |
Pouring Shield – Older models may have come with a 2-piece pouring shield, but the newer ones are 1-piece on Kitchen Aid. Breville’s looks like it is 2 pieces. This is to prevent splatter coming out of the bowl but has a pour spout so you can add ingredients while the mixer is still running.
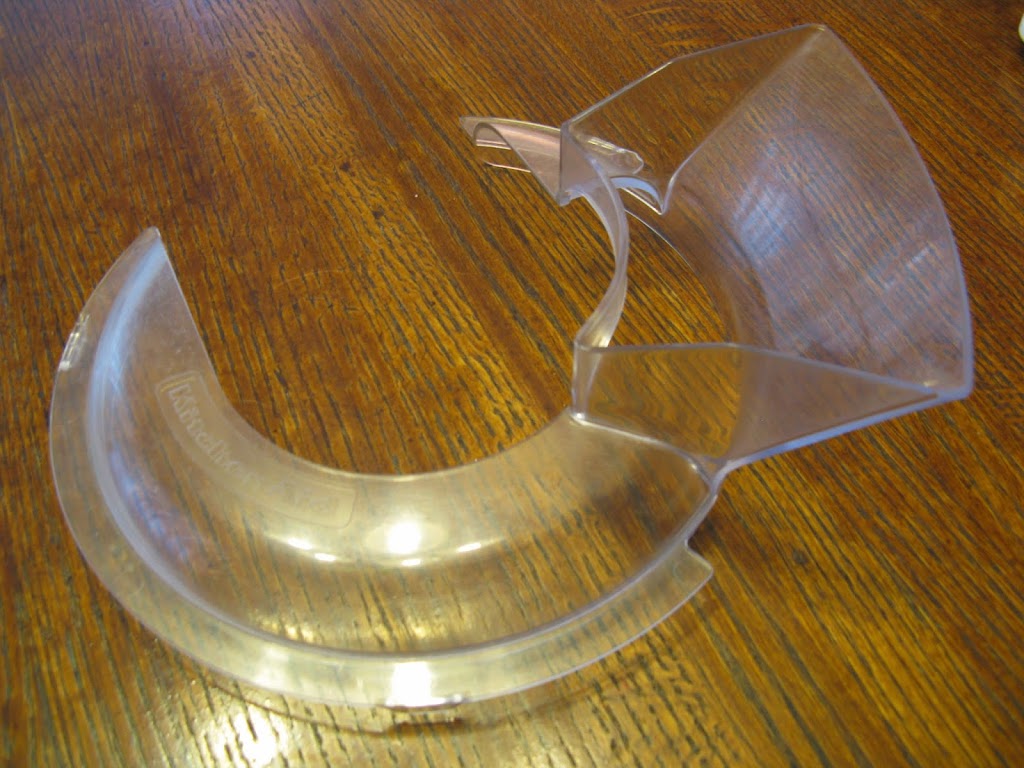 |
| Kitchen Aid 1-piece pouring shield |
Glass Bowl – Some of the new mixers have the option of a glass bowl, or you can purchase it separately for certain models to replace your stainless bowl with. It comes with a lid, which is helpful for refrigerator storage. It is extremely heavy, however, so think about when it’s full and having to maneuver it around! So far I know they make a 5 quart tilt head and a 6 quart bowl lift glass bowl. They are so popular I am sure they are working on them for the other models, be patient!
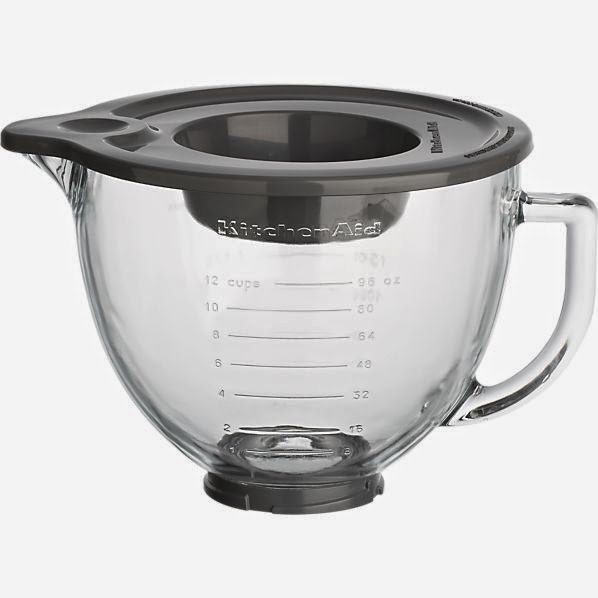 |
| Kitchen Aid glass bowl w/ lid |
Flex Edge Beater Blade – Kitchen Aid now makes a scraper blade attachment, but they were extremely reluctant to do so.
Beater Blade and
Pourfect Scrape-A-Bowl – These two competitors came out with their silicone-edged flat beaters first, and technically using them violates your Kitchen Aid warranty, but people were buying them in handfuls anyway, so Kitchen Aid had to get on board and get some of that market!
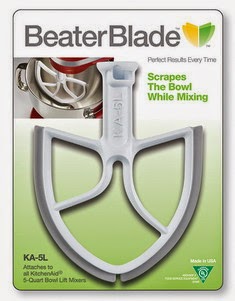 |
| Beater Blade |
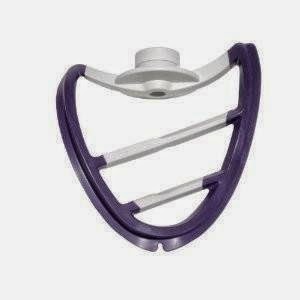 |
| Scrape-a-Bowl |
**I personally just use a regular silicone spatula – it will heel to the mixer if you use it while turned on and won’t break or chip.**